Have you made up your mind to change your theme in WordPress? Or do you want to switch to a new theme from an existing one without losing actual website content and functionality?
Changing themes in WordPress is a process that can be done in no time but there are some precautions you have to consider before switching to the new one. Therefore, the process of changing WordPress themes can take a bit longer than just clicking on the activation button.
However, if you follow some basic procedures you can easily avoid the risk of losing website content or functionality and make sure your website runs smoothly after the change.
In this article, we will guide you step-by-step on how to change your WordPress theme and what things to keep in mind before and after the switch. But before heading toward the tutorial, let’s discuss what actually WordPress themes are.
What Is A WordPress Theme?
A WordPress theme is a collection of templates and stylesheets used to define the appearance and display of a WordPress website. Themes control the look and feel of a site, including its layout, color scheme, and font choices.
Themes can be custom-built or purchased from a marketplace and can be easily installed and switched on a WordPress site to change its appearance.
How To Choose A Suitable Theme In WordPress?
When choosing a WordPress theme, there are several key factors to consider:
Design:
Look for a theme that matches the look and feel you want for your site. It should be visually appealing, professional, and aligned with your brand’s style.
Responsiveness:
The theme should be responsive, meaning it should adjust its layout to fit any screen size or device.
Customization Options:
Check for customization options such as the ability to change colors, fonts, and background images.
Features:
Consider the features you need for your websites, such as a slider, custom post types, and custom widgets, and ensure that the theme you choose supports them.
Compatibility:
Make sure the theme is compatible with the latest version of WordPress and any plugins you may be using.
Support:
Check for available support options, such as forums, documentation, and customer support, in case you encounter any issues with the theme.
Performance:
Ensure the theme is optimized for speed and SEO, as this can have a significant impact on your site’s user experience and search engine ranking.
By considering these factors, you can choose a WordPress theme that best fits your needs and helps you create a professional and functional website.
What To Consider Before Switching Theme In WordPress?
It is possible to lose content if you change WordPress themes, but this is not always the case. The extent of content loss depends on several factors, such as the differences between the old and new themes, the use of custom fields, and whether any custom code is used in the old theme.
To minimize the risk of losing content, it’s important to back up your website before making any changes, test the new theme on a staging site, and ensure that any customizations, such as custom fields and shortcodes, are compatible with the new theme.
By taking these precautions, you can minimize the risk of losing content when changing WordPress themes. However, it’s always a good idea to have a backup of your website on hand, just in case.
Before switching themes in WordPress, it’s important to take the following steps to avoid losing content and maintain website performance:
Backup Your Site:
Before making any changes, it’s essential to back up your entire website, including your database and all files.
Check Compatibility:
Ensure the new theme is compatible with the latest version of WordPress and any plugins you may be using.
Preserve Customizations:
If you have made customizations to your current themes, such as custom post types or custom fields, make sure they can be carried over to the new theme.
Test The Theme:
It’s always a good idea to test the new theme on a staging site before making it live on your main site. This will allow you to check for any compatibility issues and ensure the new theme works as expected.
Monitor The Performance:
After switching to the new theme, monitor the performance of your website, including page load time and memory usage, to ensure it’s not negatively impacted.
Redirects:
Check if the new theme will affect your permalinks and set up redirects if necessary to avoid any broken links.
Check for updates:
Keep your themes and plugins updated to ensure compatibility and security.
By taking these steps, you can minimize the risk of losing content or impacting website performance when switching themes in WordPress. your permalinks structure to ensure it remains the same after switching to the new theme.
How To Change A WordPress Theme?
Once you have done with all the prerequisites required before changing the WordPress theme, you can confidently proceed to the steps mentioned below. You can change your WordPress theme either by going live or without going live and also can do it manually.
Without Going Live:
You can change your WordPress theme without going live by using a staging site. A staging site is a copy of your live website that you can use for testing and development purposes.
When you change your theme on a staging site, you can preview the changes and ensure everything is working as expected before making the changes live on your main website.
By using a staging site, you can safely test your theme changes without affecting your live website, giving you peace of mind and a better user experience for your visitors.
To create a staging site, you can use a plugin such as WP Staging or manually create a copy of your website on a separate server or subdomain.
Once you have created your staging site, you can follow these steps to change your WordPress theme:
Step #1. Create A Staging Site:
There are two ways to create a staging site for your WordPress website:
- Using A Plugin: There are several plugins available that allow you to create a staging site with just a few clicks. Some popular options include WP Staging, Duplicator, and BackupBuddy. These plugins create a copy of your live website on a separate server or subdomain, where you can make changes and test your new theme.
- Manually: To create a staging site manually, you will need to create a copy of your website on a separate server or subdomain. You can do this by following these steps:
- Make a backup of your live website, including your database and all files.
- Create a new database for the staging site.
- Install a fresh copy of WordPress on the new server or subdomain.
- Import the backup of your live website into the new database.
- Update the website URL in the wp_options table to reflect the new staging site URL.
- Update the .htaccess file if you are using Permalinks.
Note that creating a staging site manually requires a good understanding of WordPress, databases, and server administration. If you are not comfortable with these, it’s best to use a plugin or seek help from a professional.
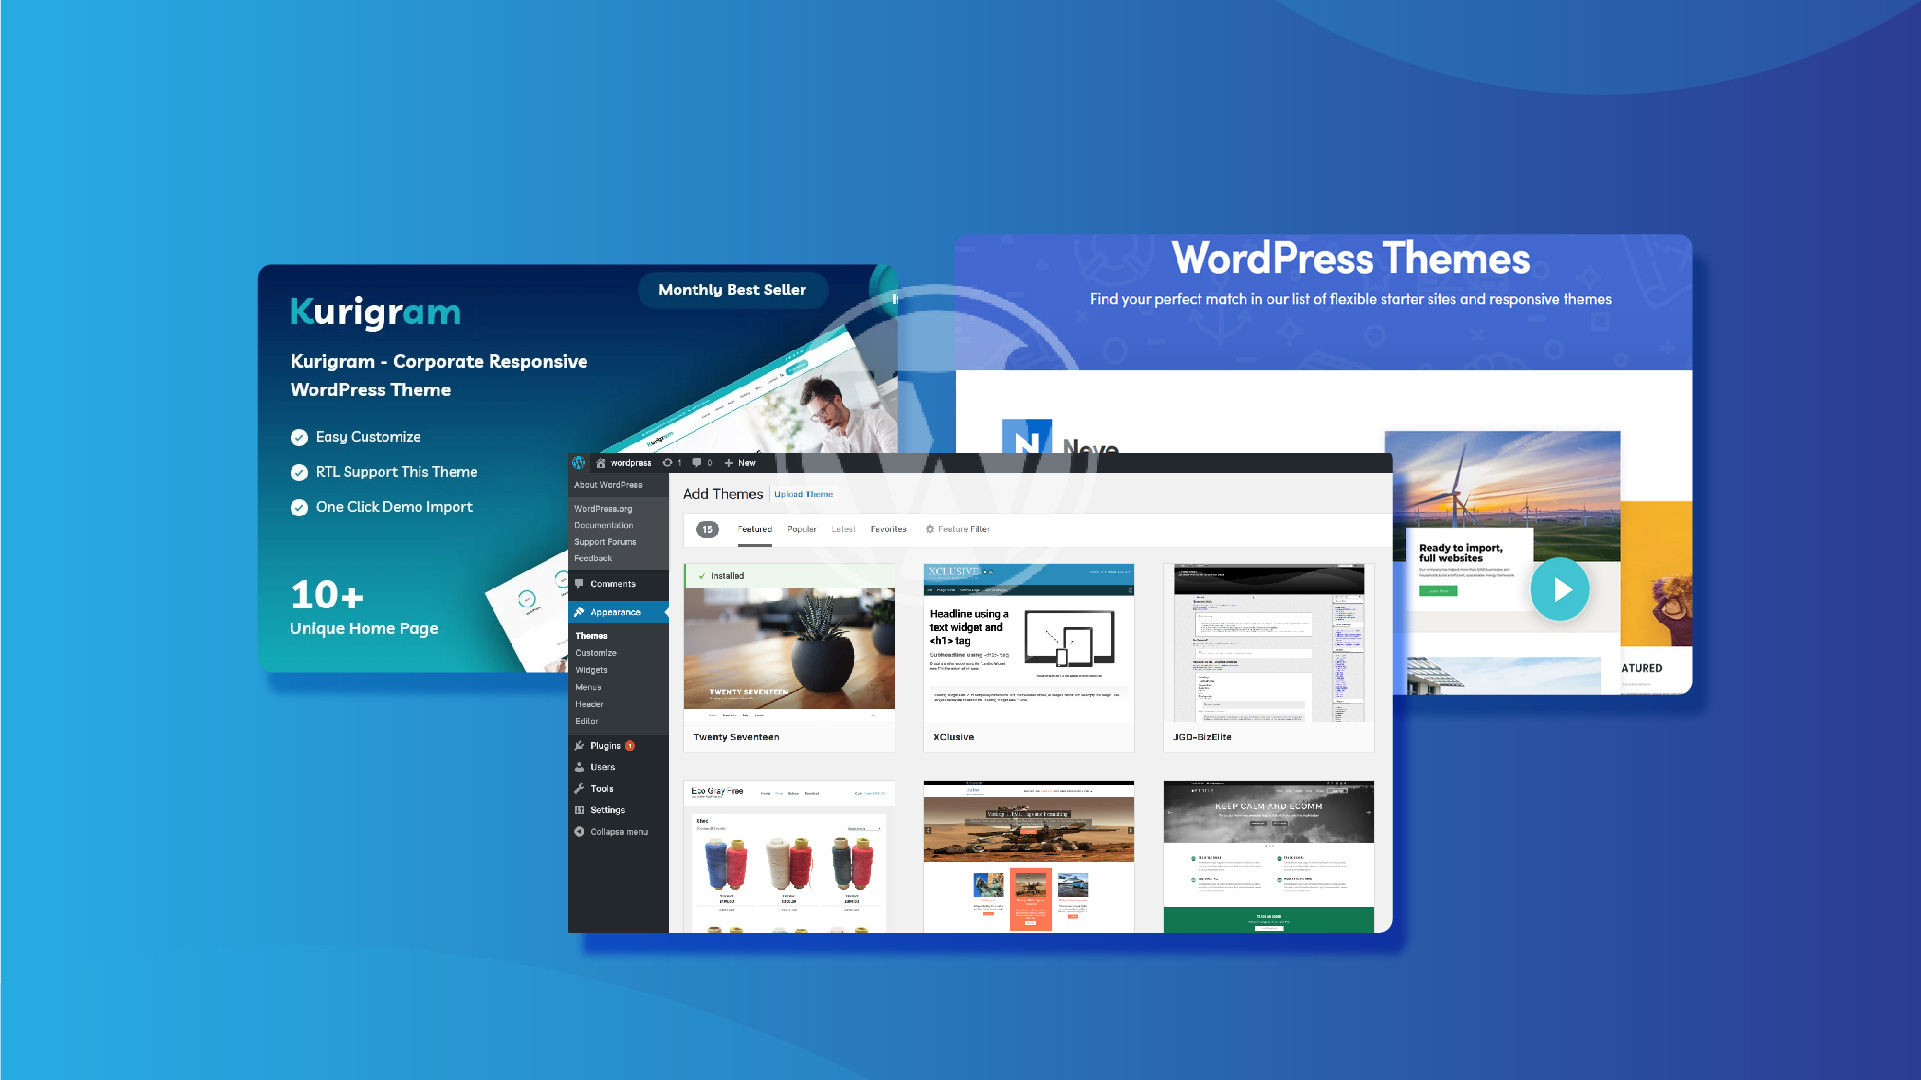
Step #2. Choose A New Theme And Install It:
Browse the WordPress theme repository, or search for premium themes from trusted marketplaces such as ThemeForest or Mojo Marketplace.
Consider the theme’s features, compatibility, ratings and reviews, support, and updates. Preview the theme on the demo site to see how it will look on your website. Here are some of the most popular WordPress themes:
Astra:

Astra is a fast, lightweight, and customizable theme that can be used for any type of website. It’s fully responsive, integrates with page builders such as Elementor, and offers a wide range of customization options.
Divi:

Divi is a popular premium theme that offers a drag-and-drop page builder, allowing you to create custom page layouts without any coding. It’s fully responsive, comes with pre-made templates, and offers a wide range of customization options.
Avada:

Avada is another popular premium theme that offers a variety of pre-made templates and a powerful page builder. It’s fully responsive, offers a range of customization options, and has a large user base with a strong community.
Neve:
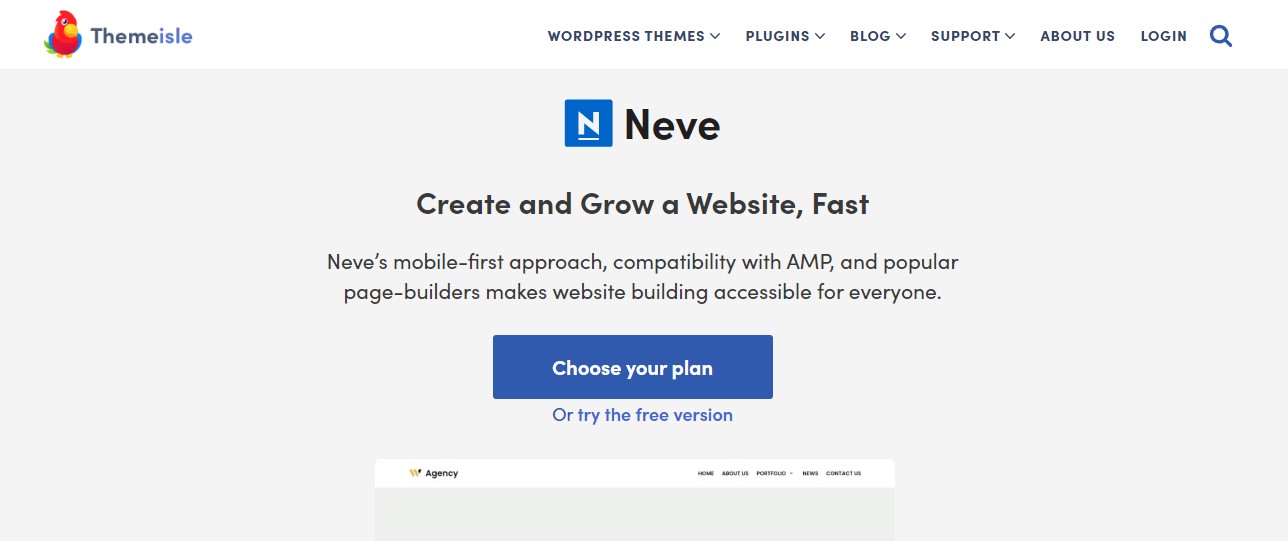
Neve is a fast and lightweight theme that’s fully responsive and customizable. It’s compatible with page builders, offers pre-made templates, and has a range of customization options.
OceanWP:
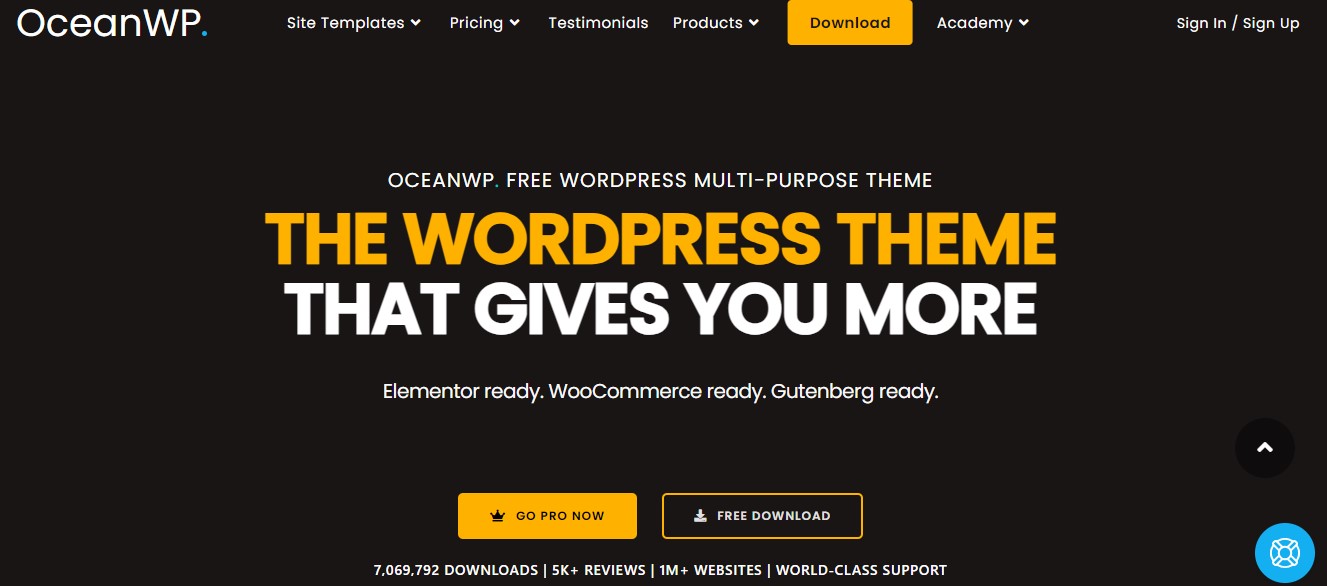
OceanWP is a free, multipurpose theme that’s fully responsive and integrates with page builders such as Elementor. It offers a range of customization options, pre-made templates, and a large community of users.
You can install a theme directly from the WordPress theme repository by going to Appearance > Themes in your WordPress dashboard. Click the “Add New” button, search for the theme you want to install, and then click the “Install” button.
Step #3. Preview And Activate The Theme:
Here are the steps to preview and activate a new theme in WordPress:
- Go to Appearance > Themes in your WordPress dashboard.
- Find the theme you want to preview and click the “Preview” button.
- A preview of the theme will appear in a new window, allowing you to see how it will look on your website.
- When you’re ready to activate the new theme, go back to the Themes page in your WordPress dashboard.
- Find the theme you want to activate and click the “Activate” button.
- Your website will now use the new theme, and you can begin customizing it to your liking.


It’s always a good idea to check your website after activating a new theme to make sure everything is functioning as expected and that your content is displayed correctly.
Step #4. Preserve Customizations:
If you have made customizations to your old themes, such as custom post types or custom fields, make sure they can be carried over to the new theme.
A child theme is a theme that inherits all the functionality and styles of its parent theme. By using a child theme, you can make customizations and modifications to your website without affecting the parent theme.
If you’ve made customizations to your theme using CSS, you can save these customizations by copying the CSS code to a file and adding it to your new theme.
Some plugins, such as Custom CSS and JavaScript, allow you to add custom CSS and JavaScript to your website without affecting the theme. This can be a good way to preserve customizations after switching to a new theme.
Some themes come with an export/import feature that allows you to export your customizations and import them into a new theme. This can be a quick and easy way to preserve customizations.
Step #5. Test The Theme:
On the staging site, test the new theme to ensure it works as expected. Check for any compatibility issues and ensure that all your content and customizations are correctly displayed.
Step #6. Monitor The Performance:
After switching to the new theme, monitor the performance of your website on the staging site, including page load time and memory usage, to ensure it’s not negatively impacted.
Step #7. Push Changes To The Live Site:
Once you have tested the new theme and are satisfied with the results, you can push the changes to your live website by either using a plugin such as WP Staging or by manually copying the changes from the staging site to the live site.
Mistakes That Should Be Avoided When Changing WordPress Themes:
Here are some mistakes to avoid when changing WordPress themes:
1. Not Backing Up Your Website:
Before making any changes to your website, it is crucial to create a full backup. This will allow you to revert to the previous version of your website in case something goes wrong during the theme change process.
2. Not Previewing The New Theme:
Before making the change, preview the new theme by clicking on the “Preview” button. This will give you an idea of how the new theme will look on your website and help you avoid any compatibility issues.
3. Not Deactivating Plugins:
Some plugins may not be compatible with the new theme, causing errors or problems with the functionality of your website. Deactivating plugins before changing themes can help to avoid these issues.
4. Not Testing The New Theme Thoroughly:
Before making the new theme live on your website, test it thoroughly to make sure that it is fully compatible with your website and that all customizations and features are working correctly.
5. Not Considering Mobile Compatibility:
With the growing use of mobile devices, it is important to ensure that the new theme is mobile-friendly and fully responsive.
6. Not Checking For Compatibility With Plugins:
Some plugins may not be compatible with the new theme, causing errors or problems with the functionality of your website. Before changing themes, check for compatibility with your plugins and make sure that they are compatible.
By avoiding these mistakes, you can ensure a smooth transition to the new theme and avoid any potential problems or errors.
Conclusion:
WordPress themes give your site a fresher look without having to design it from scratch. The process of changing a theme in WordPress may take a few seconds, but there are some areas that need your attention to ensure a successful and smooth transition and that your site performs all the functionalities it did with the previous theme.
We hope this article has guided you in detail on how to change your WordPress theme. If you are still facing any issues, feel free to leave a comment. All the best!
Frequently Asked Questions (FAQs):
1. How Do I Change a Theme in WordPress?
You can change a theme in WordPress by going to the “Appearance” section in your dashboard, selecting “Themes,” then choosing the new theme you want to use and clicking on “Activate.”
2. Can I Preview a Theme Before Activating it in WordPress?
Yes, you can preview a theme before activating it by clicking on the “Preview” button under the theme in the “Appearance” section of your dashboard.
3. Can I Lose Content When Changing Themes in WordPress?
Yes, you can lose content when changing themes if the new theme does not have the same layout or functionality as the previous theme. It’s important to back up your website before changing themes and test the new theme thoroughly to avoid losing any content.
4. How Do I Preserve Customizations After Changing Themes In WordPress?
Customizations can be preserved after changing themes by using a child theme or by saving and transferring custom code, such as CSS and PHP, to the new theme.
5. How Do I Know If A Theme Is Compatible With My Plugins?
You can check for plugin compatibility by reading the theme documentation or contacting the theme developer. Some themes may also have compatibility information listed on the WordPress theme repository.
6. How Can I Change Themes Without Going Live On My Website?
You can change themes without going live by using a staging site or a development environment. This allows you to preview and test the new theme before making it live on your website.